How to Run a Test Case in the Cloud (Independently)
In addition to running your test case locally or using an execution set, you can also run it in the cloud independently. To do so, follow the steps below.
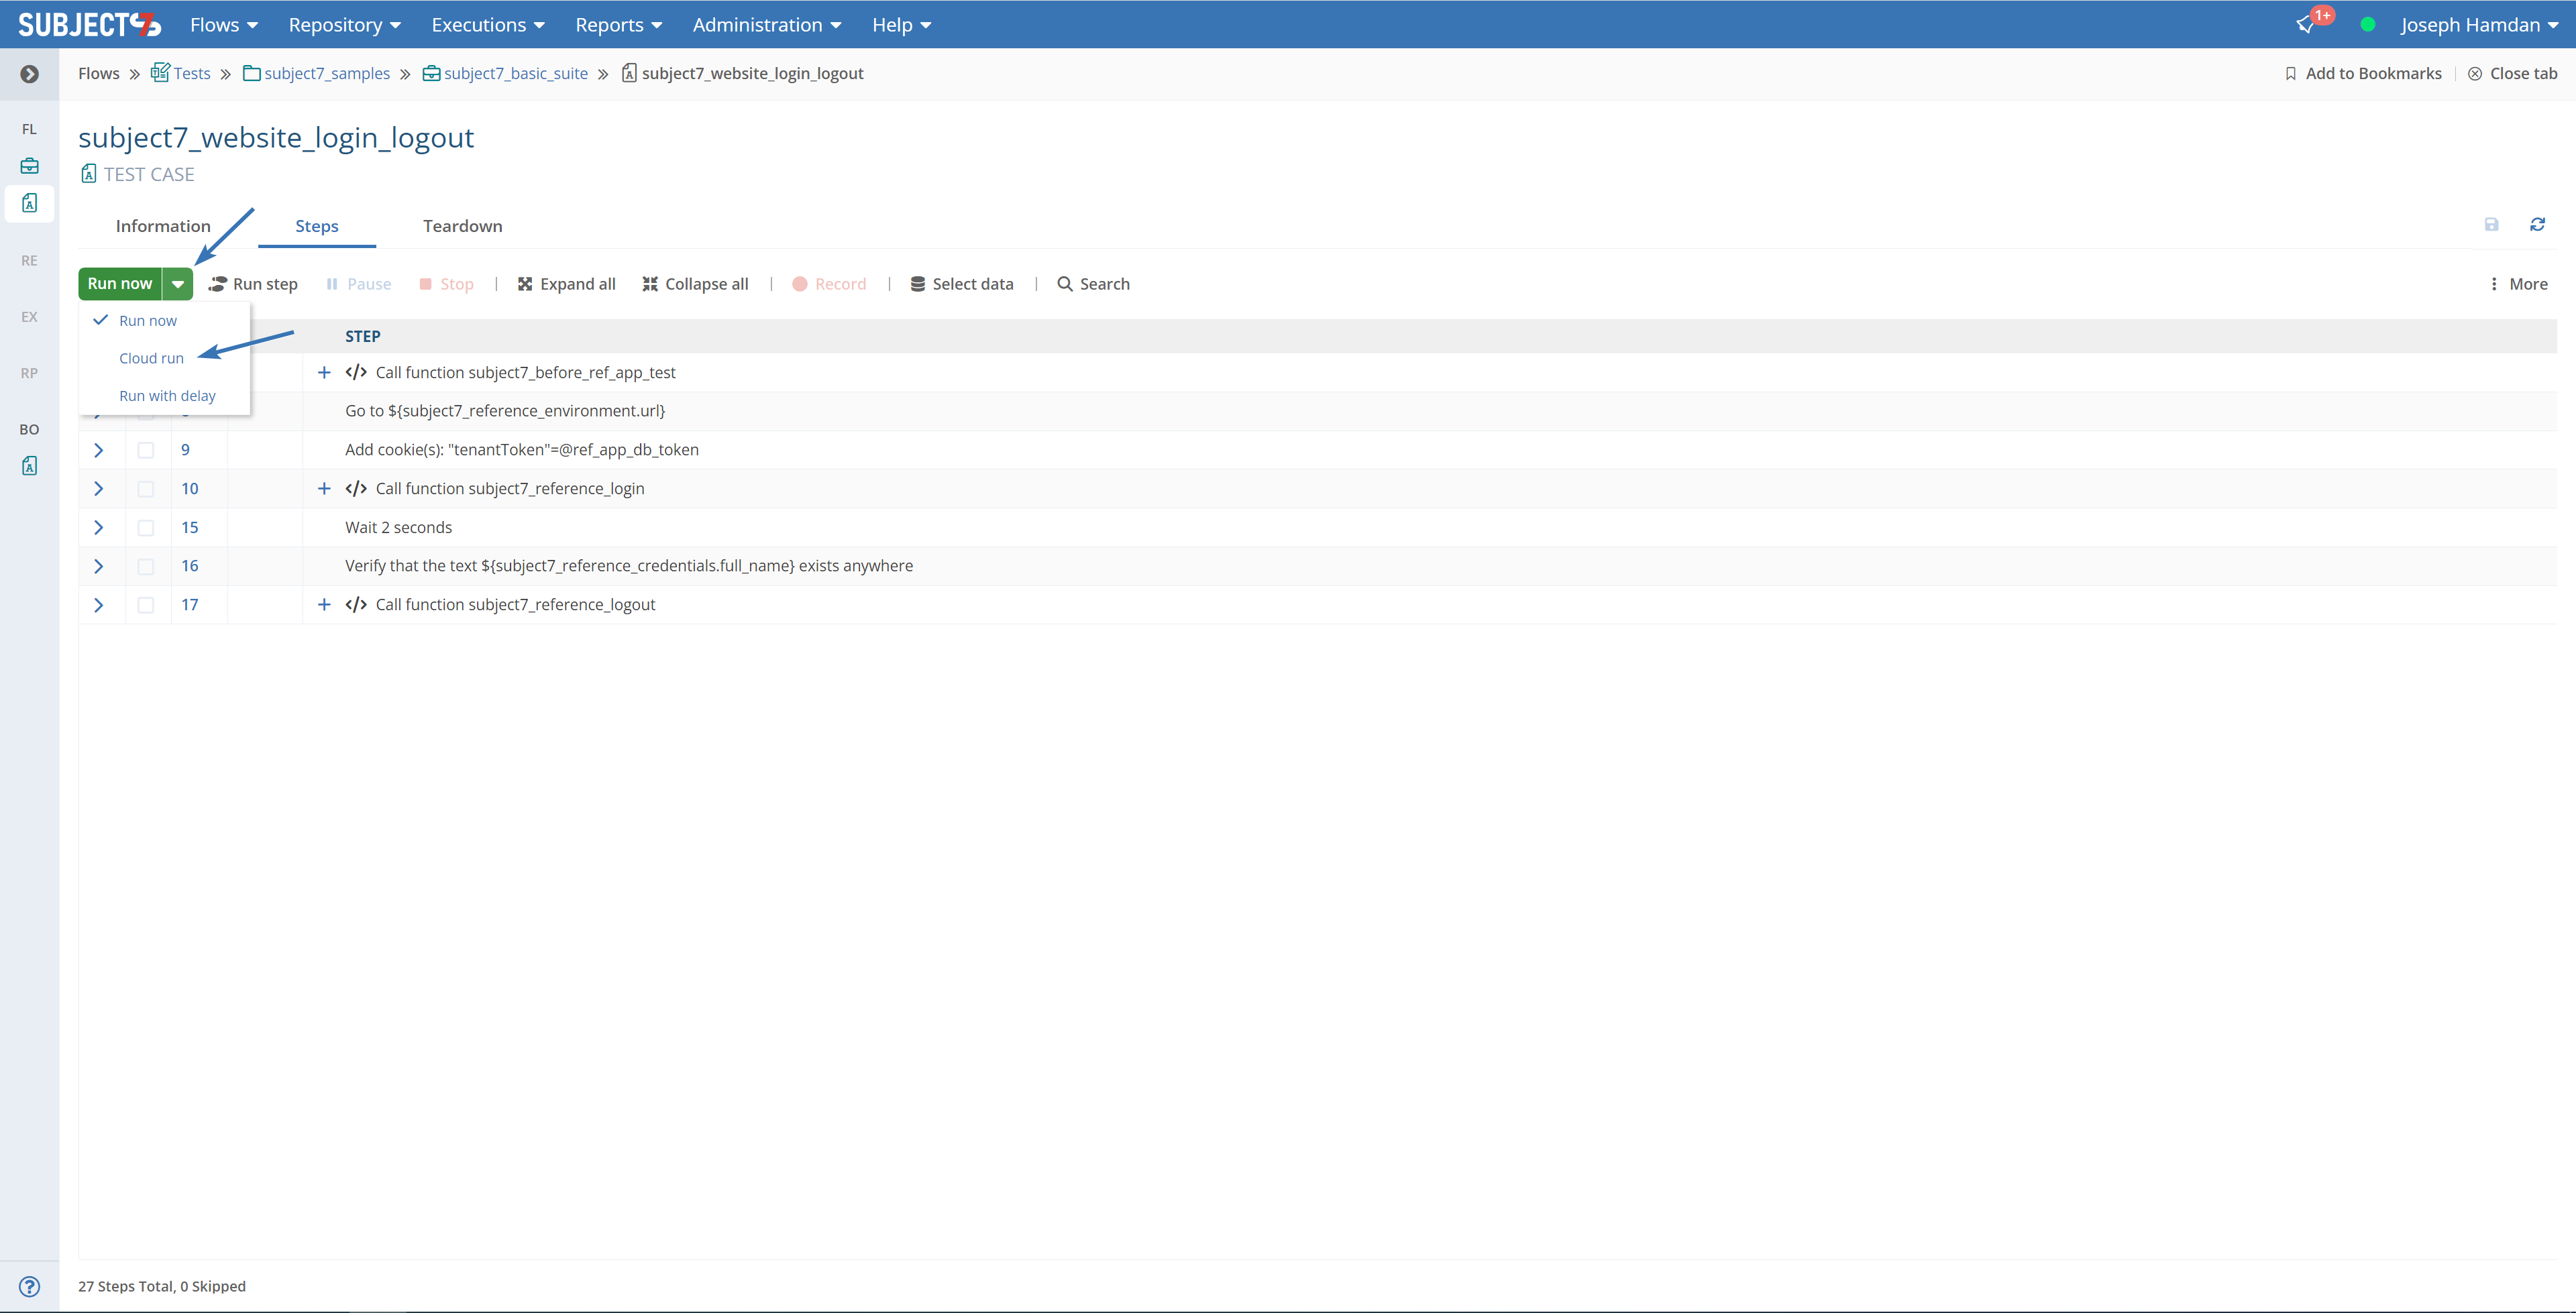
1- Open the test case you need to run.
2- Click on the dropdown list next to Run now and click on the Cloud Run icon that you see highlighted below:
3- Click Cloud run link to initiate the cloud run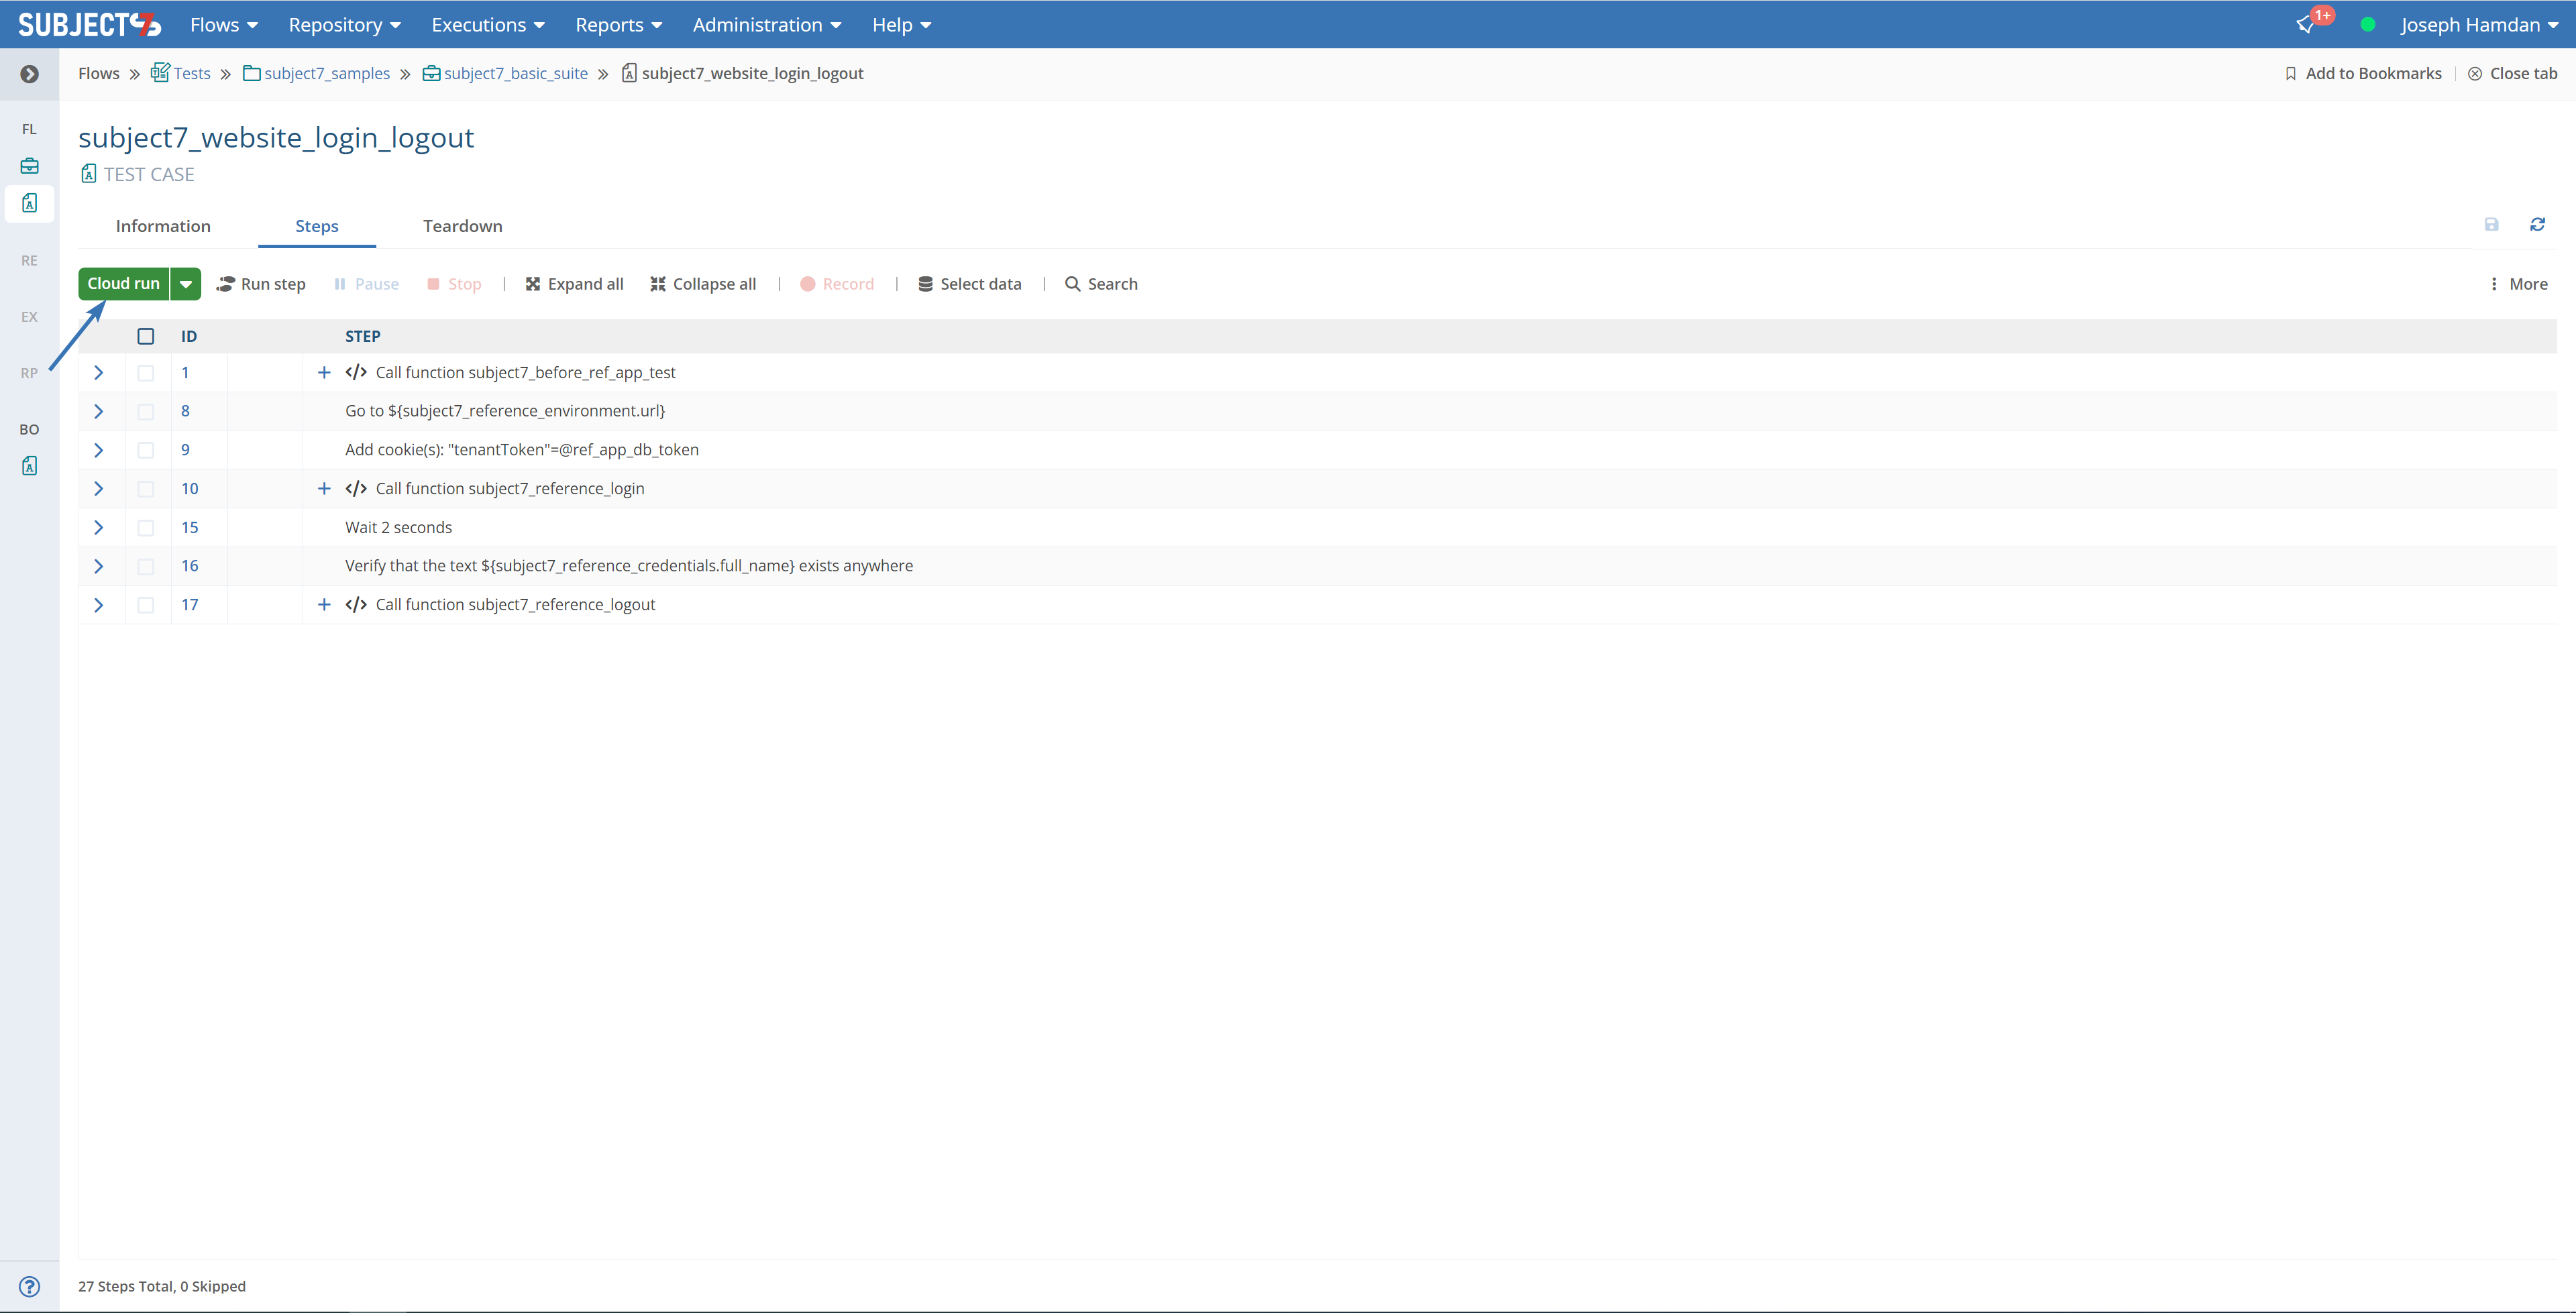
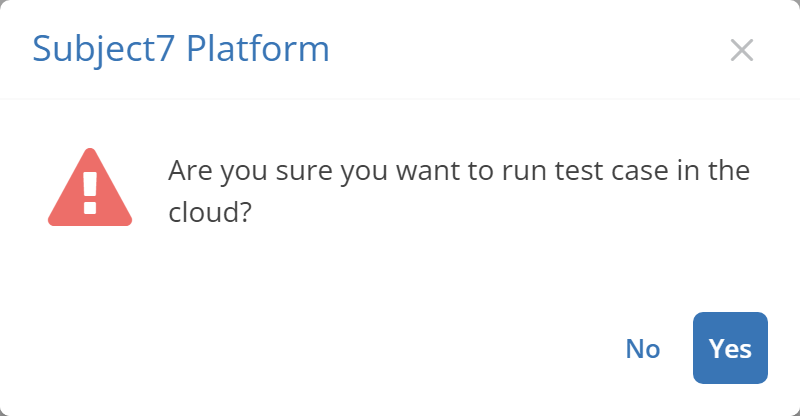
4- A popup message will appear asking you to confirm running in the cloud. Click Yes.
5- A small window will appear to indicate that the test case has been sent to the cloud with an ID number.

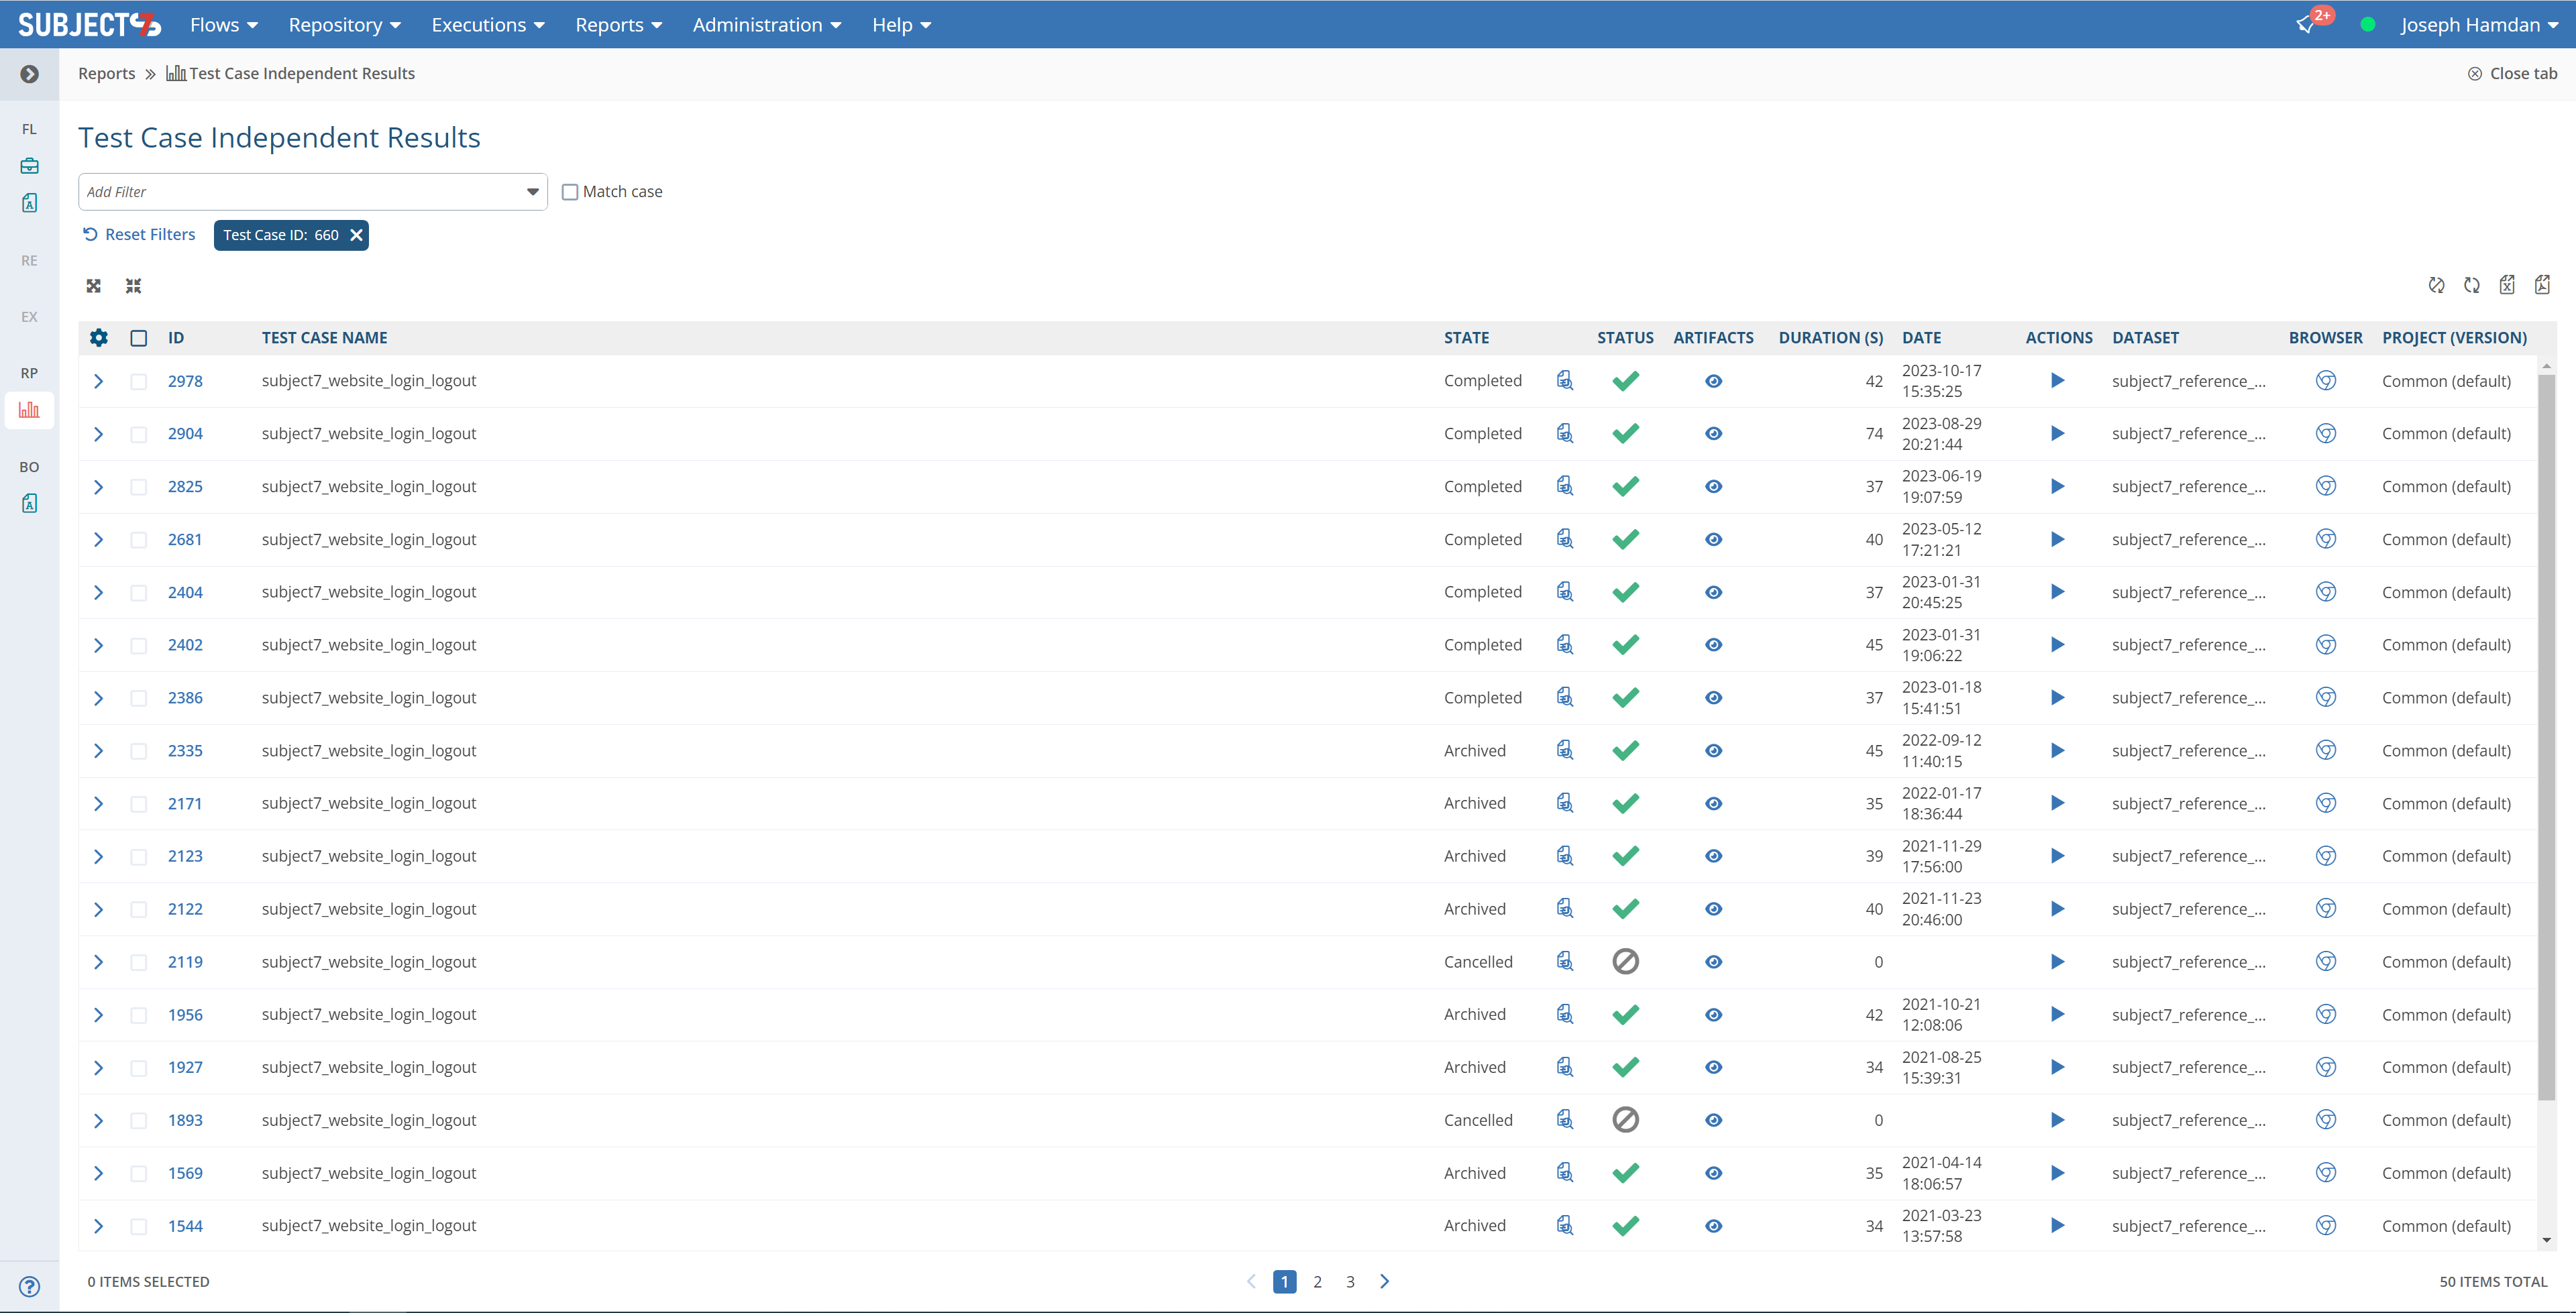
6- To view the execution results, click on the ellipsis icon and select Execution Report as highlighted below:
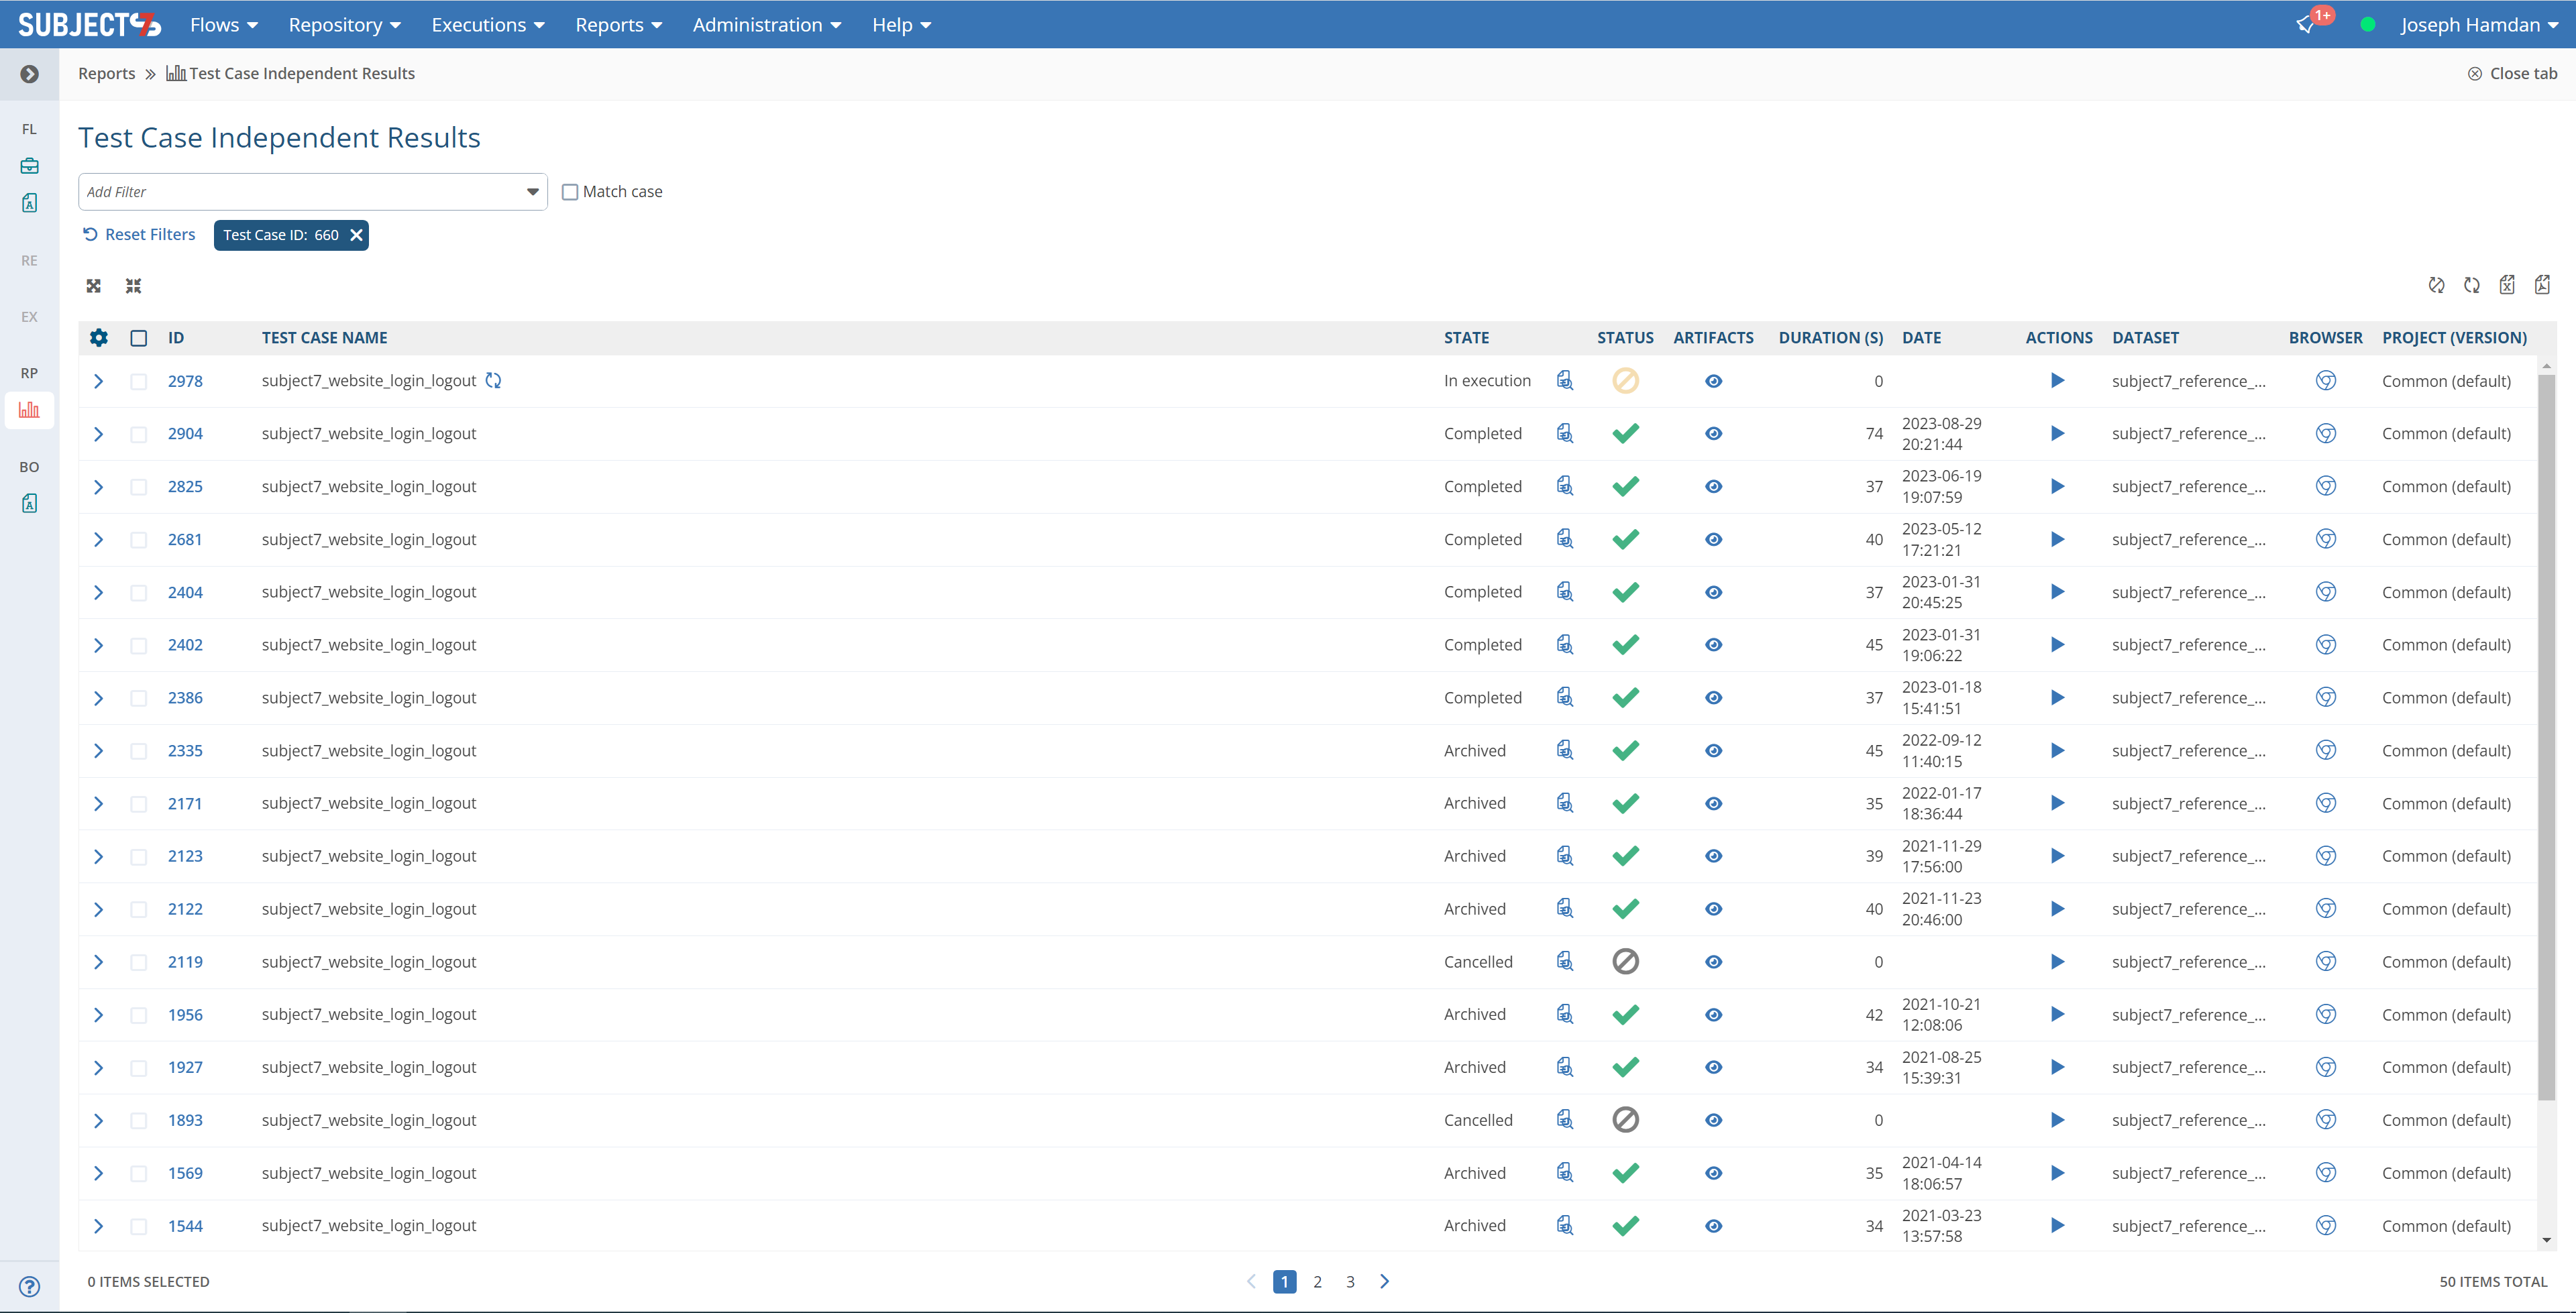
 6- You will see the latest execution ID where you can view the State. Clicking Refresh updates the State and you will notice it will change from Queued to In Execution and then to Completed once the execution has completed. You can enable Auto Refresh by clicking Enable Auto Refresh icon
  and it will automatically update the results on the page. If the setting is enabled, you will see "Disable Auto Refresh" icon active as below
  . You can also change Auto Refresh to run by default in Dashboard Preferences.
In case you want to cancel the execution while it's running, select the test case execution check box next to the ID and click Cancel Execution. The State will change to Cancelled.
The status field indicates the overall execution status and can be:
- PASS
- FAIL
- ERROR
- FAIL_SKIP
Queued State:
 In Execution State:
 Completed State:
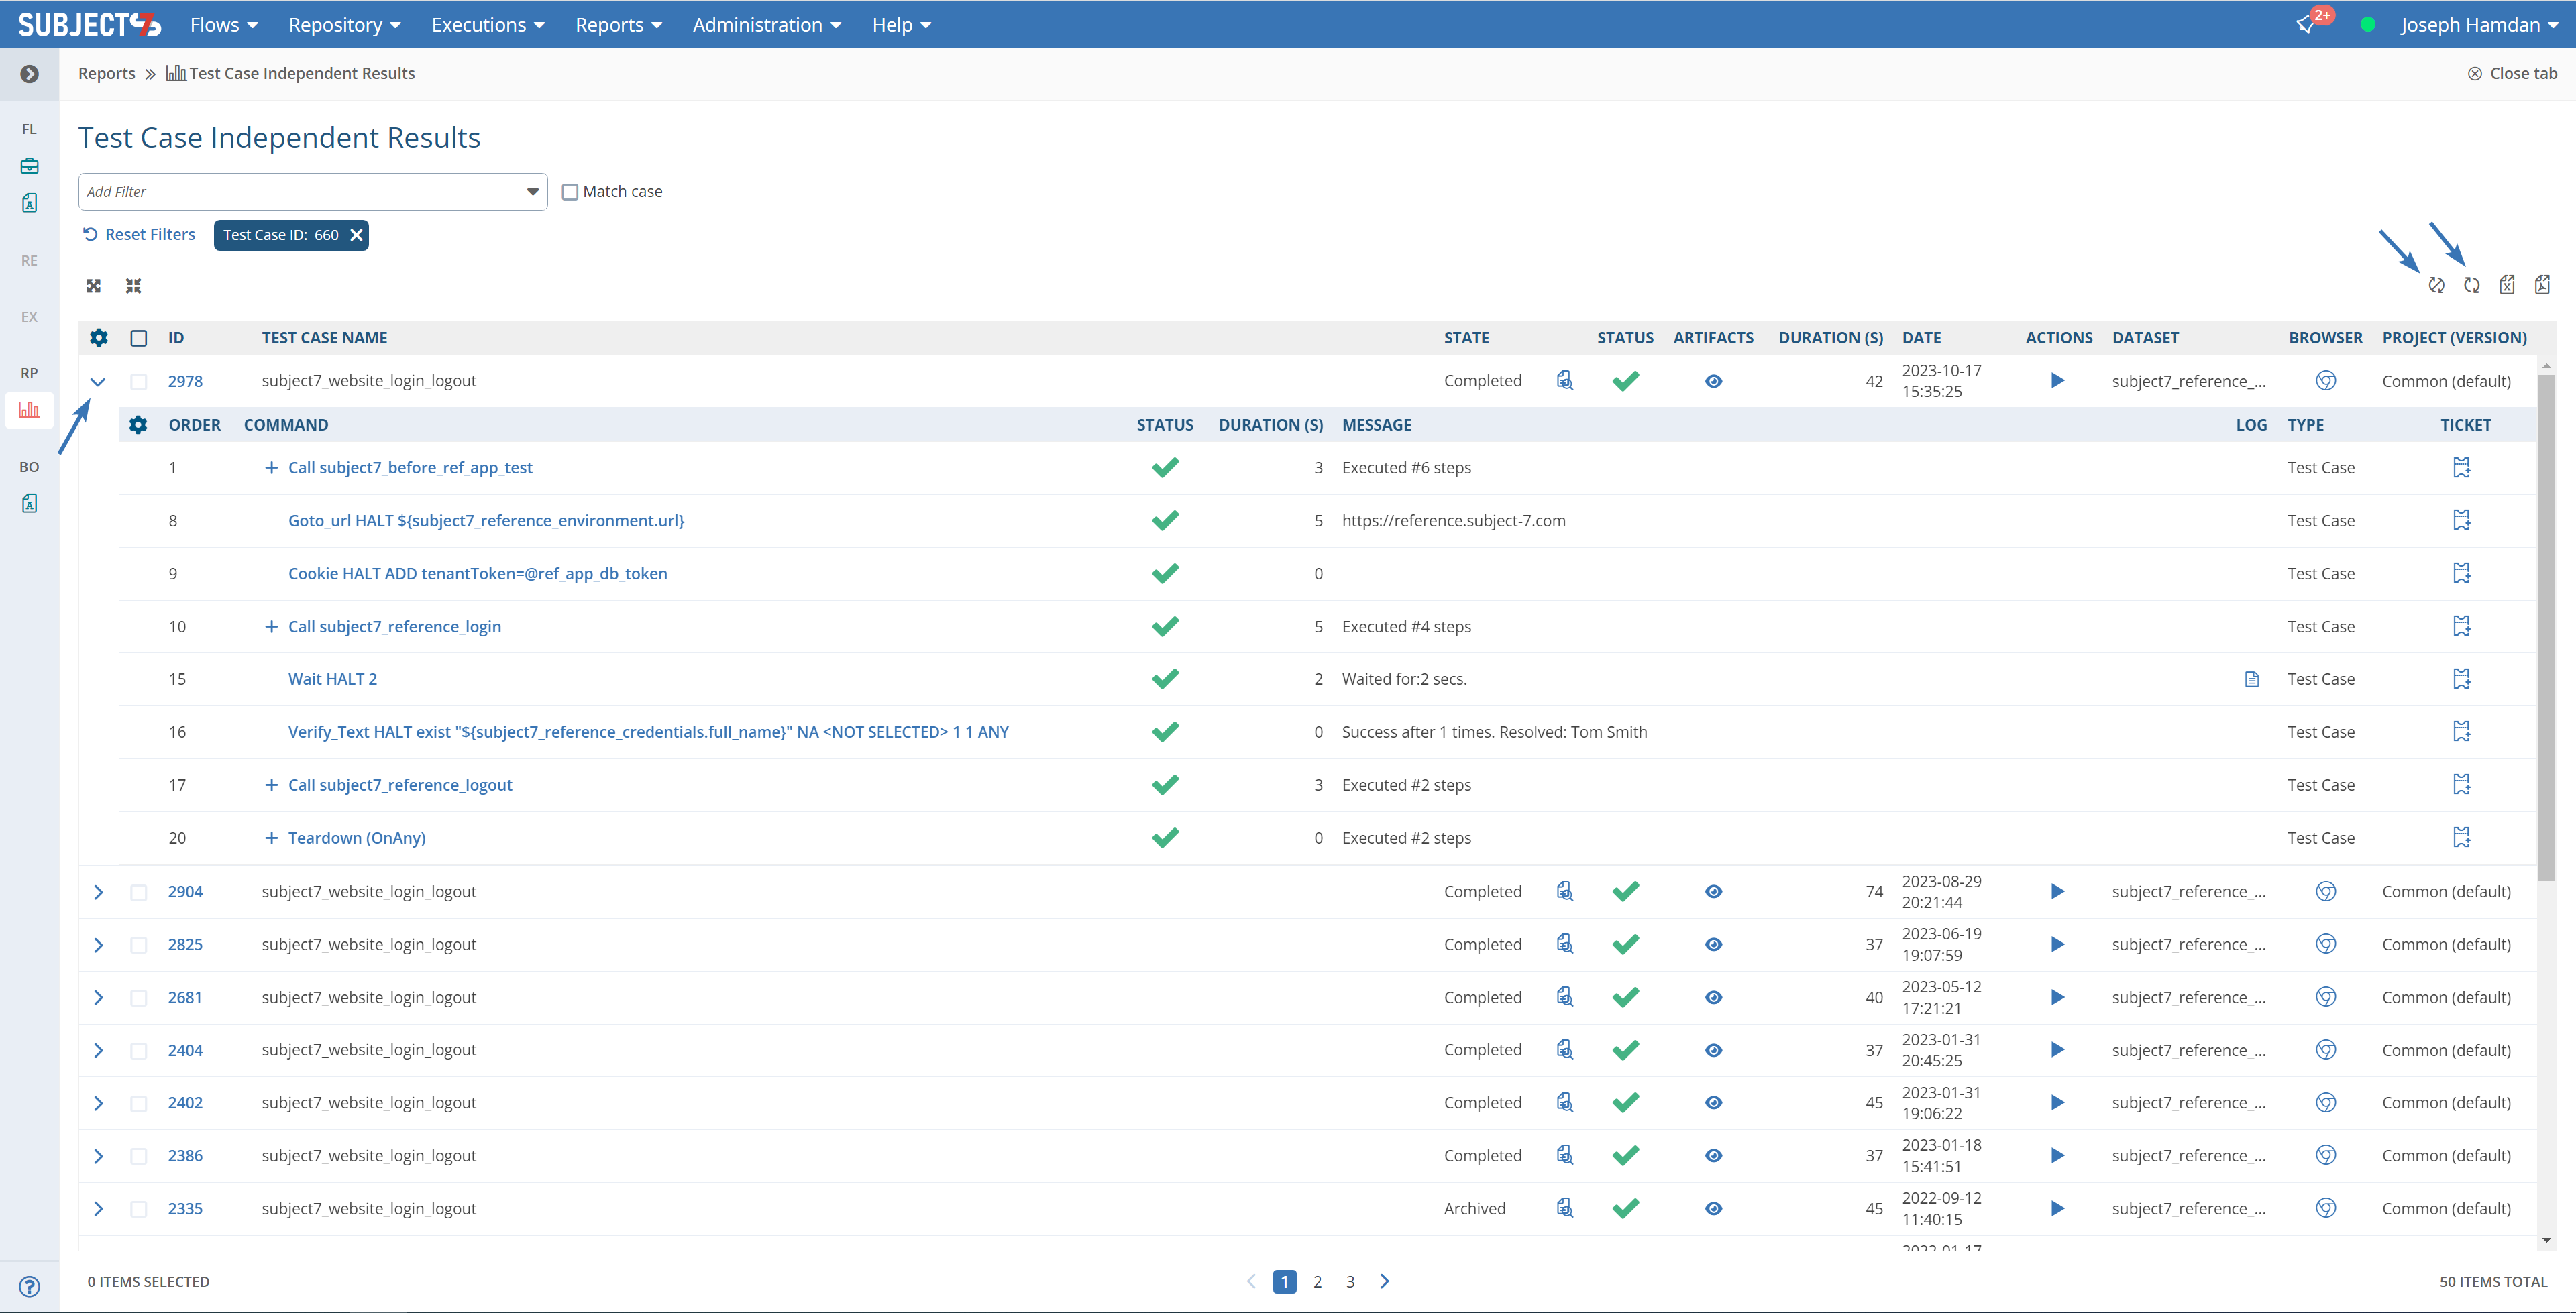
 7- You can view the individual steps by clicking on the arrow on the left side on the Execution ID. This will bring up the steps until the failure of the execution for you to fix. You can click on the Refresh icon next to the Test Case Name (only appears during execution) to show gradual results as the execution proceeds or click Enable Auto Refresh and it will automatically update the results on the page. Refresh next to Auto-Refresh can be used manually as well.
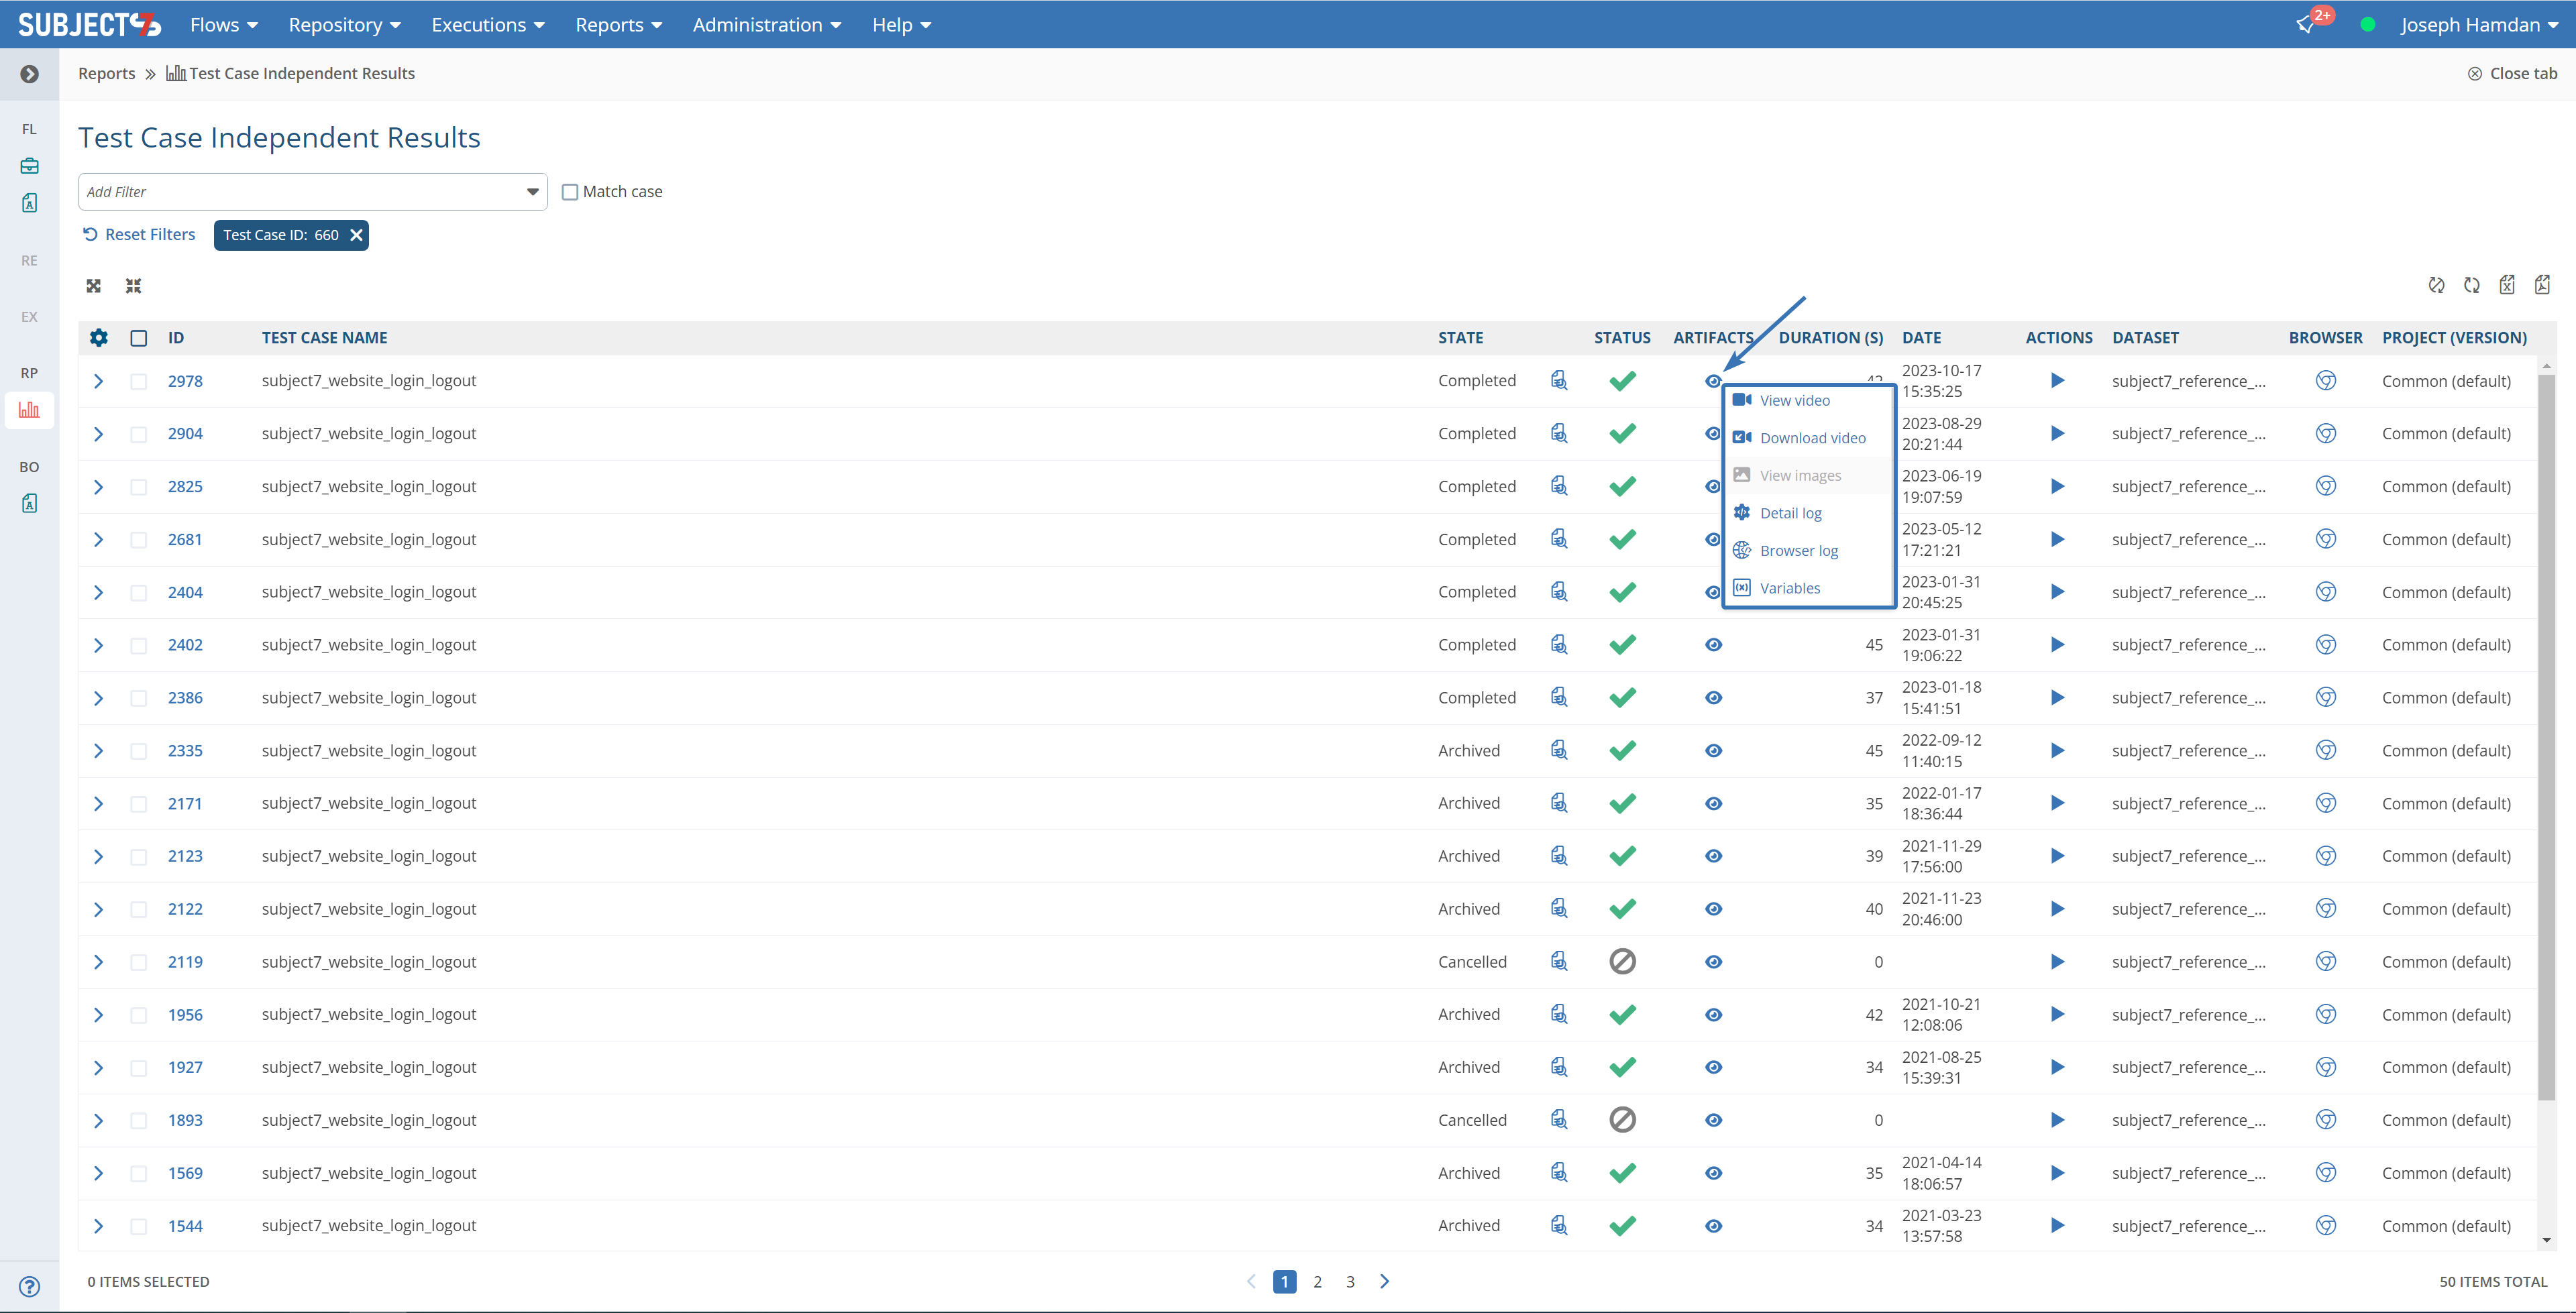
 8- You can also view the Video, Image, logs of the execution and browser (console) logs by clicking the Eye icon under Artifacts column.
Tip
Video and log in URLs are named like this: TestCaseName_ExecutionID_DateToMilliSeconds.mp4
9- You can export the results of execution by selecting an execution using the checkbox and clicking Export Excel or Export PDF as highlighted below. You will be prompted whether or not you would like to include steps details in your report.
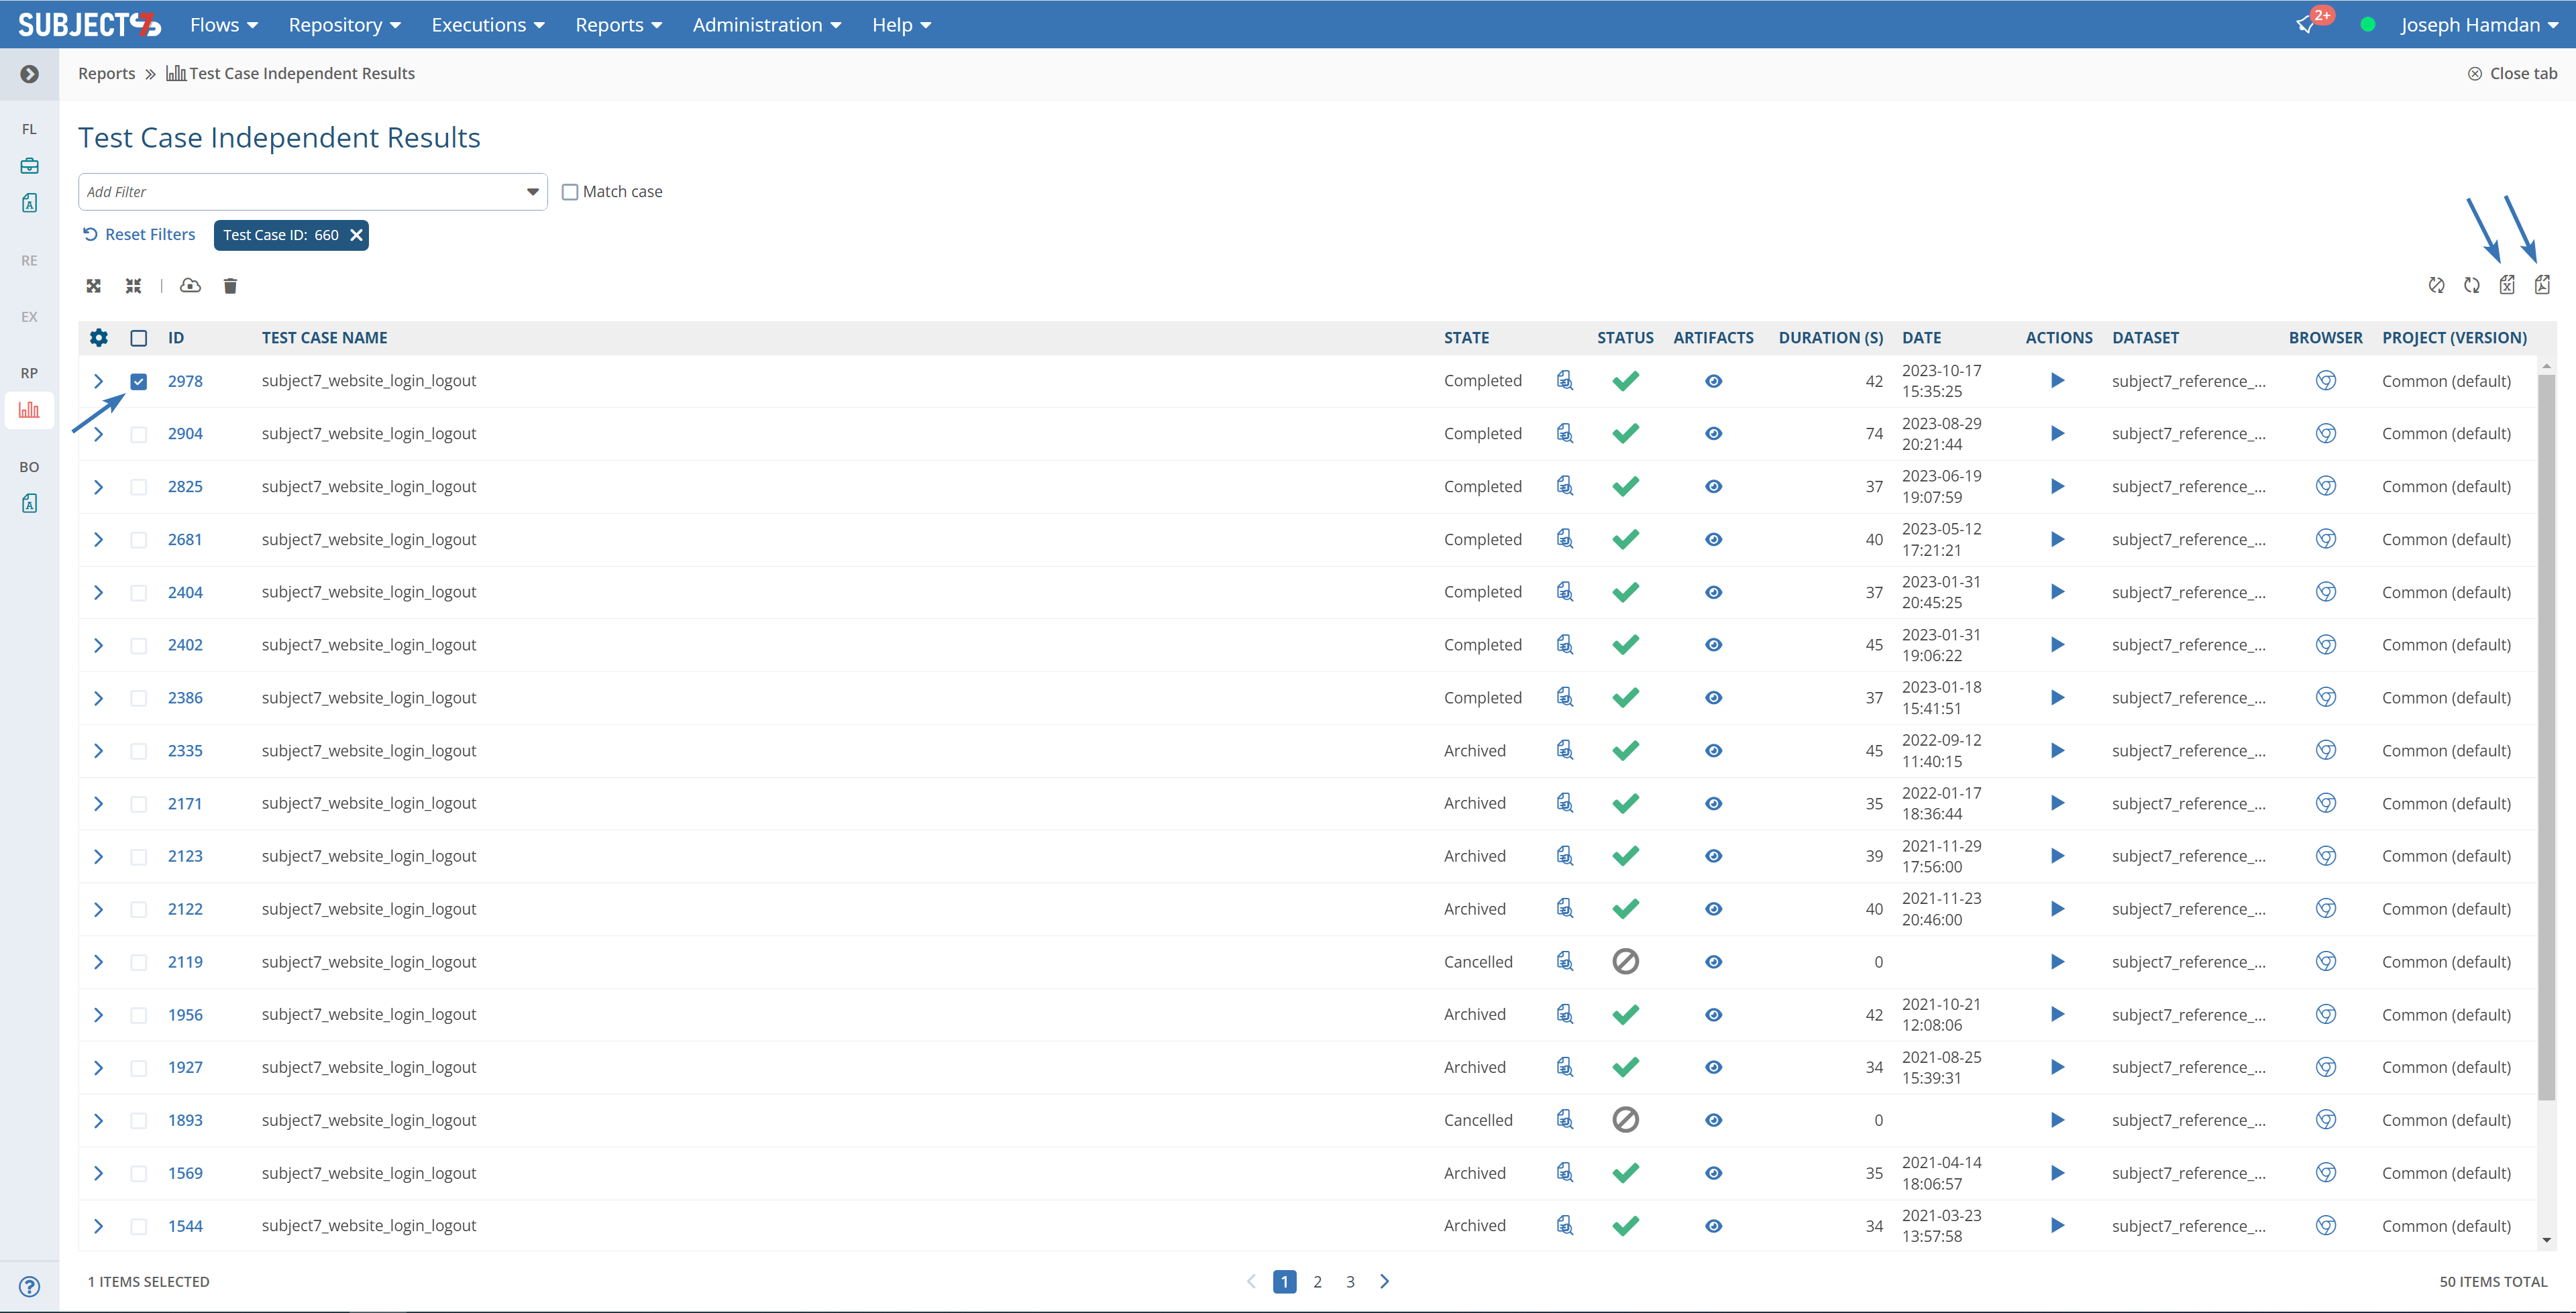
10- In case you need to delete an test case execution, click on the check box left to the ID and click Delete.
Tip
To set a default pool for these types of cloud runs, navigate to Set Preferences to a Test Case (User Preferences)
Tip